Reports
Editing a report
- If you inspected with the app, your findings are already there. The editor is your last look at them: you read through, adjust where it can be better, and finish. You do not have to approve every finding one by one.
- If you work with photo upload, the structure is ready with your photos in place, and you write the findings here. See Writing a finding below.
The rest of this guide applies to both.
The four views of a project
At the top of a project there are four buttons. They belong to one project and you switch between them freely.
- Projectinfo: the address, the client, the schedule and the details that end up in the report.
- Foto's: all your photos, and how they are sorted across the elements. See Building a report from photos on your computer.
- Rapport: the editor itself, which is what this article is about.
- Bekijken: the report as your client receives it.
Finding your way in the editor
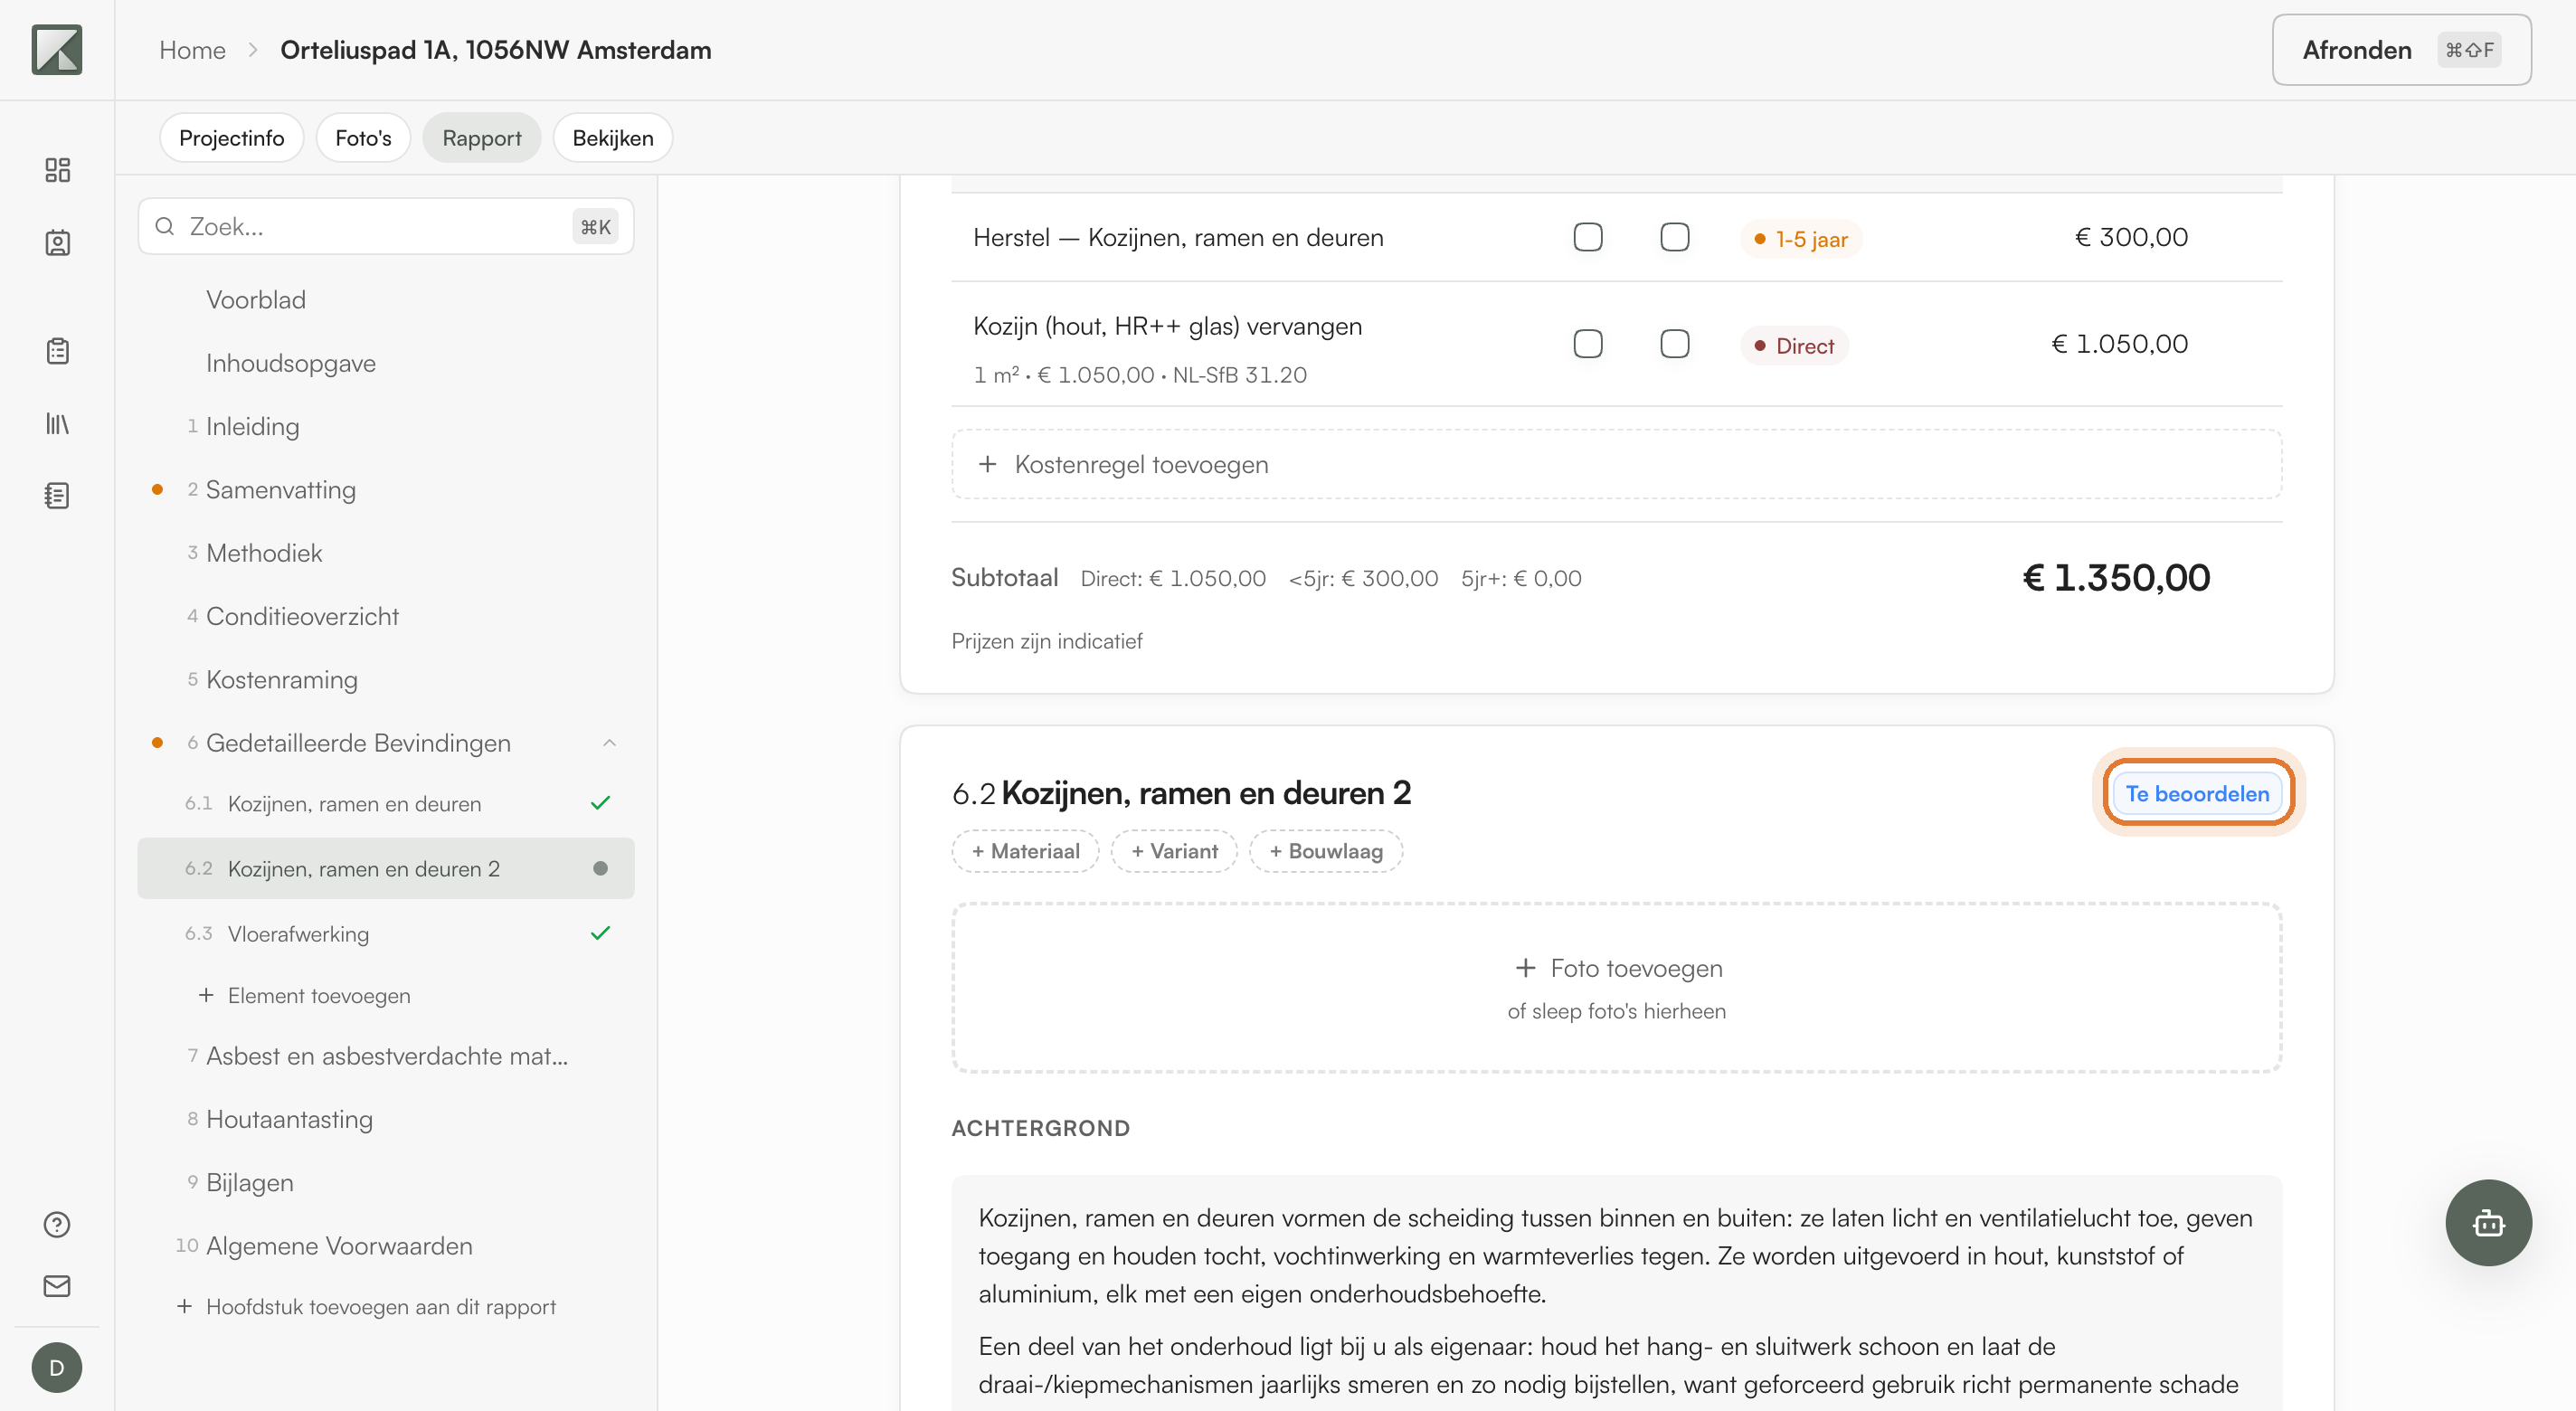
On the left is the content of this report: the cover, the table of contents and the chapters in order. Under Gedetailleerde Bevindingen there is a row per element you recorded. Click a row and you jump to that place in the report.
On the right is the report itself. You type straight into it. What you change is saved while you work.
At the bottom of the list are two buttons: Element toevoegen adds an element to the findings, Hoofdstuk toevoegen aan dit rapport adds a whole chapter, with its text and photos together.
What still needs your attention
Elements that still need checking are marked Te beoordelen. At the bottom you see how many are still open.
If a finding is right, leave it and move on. You do not have to click anything to continue.
Writing a finding
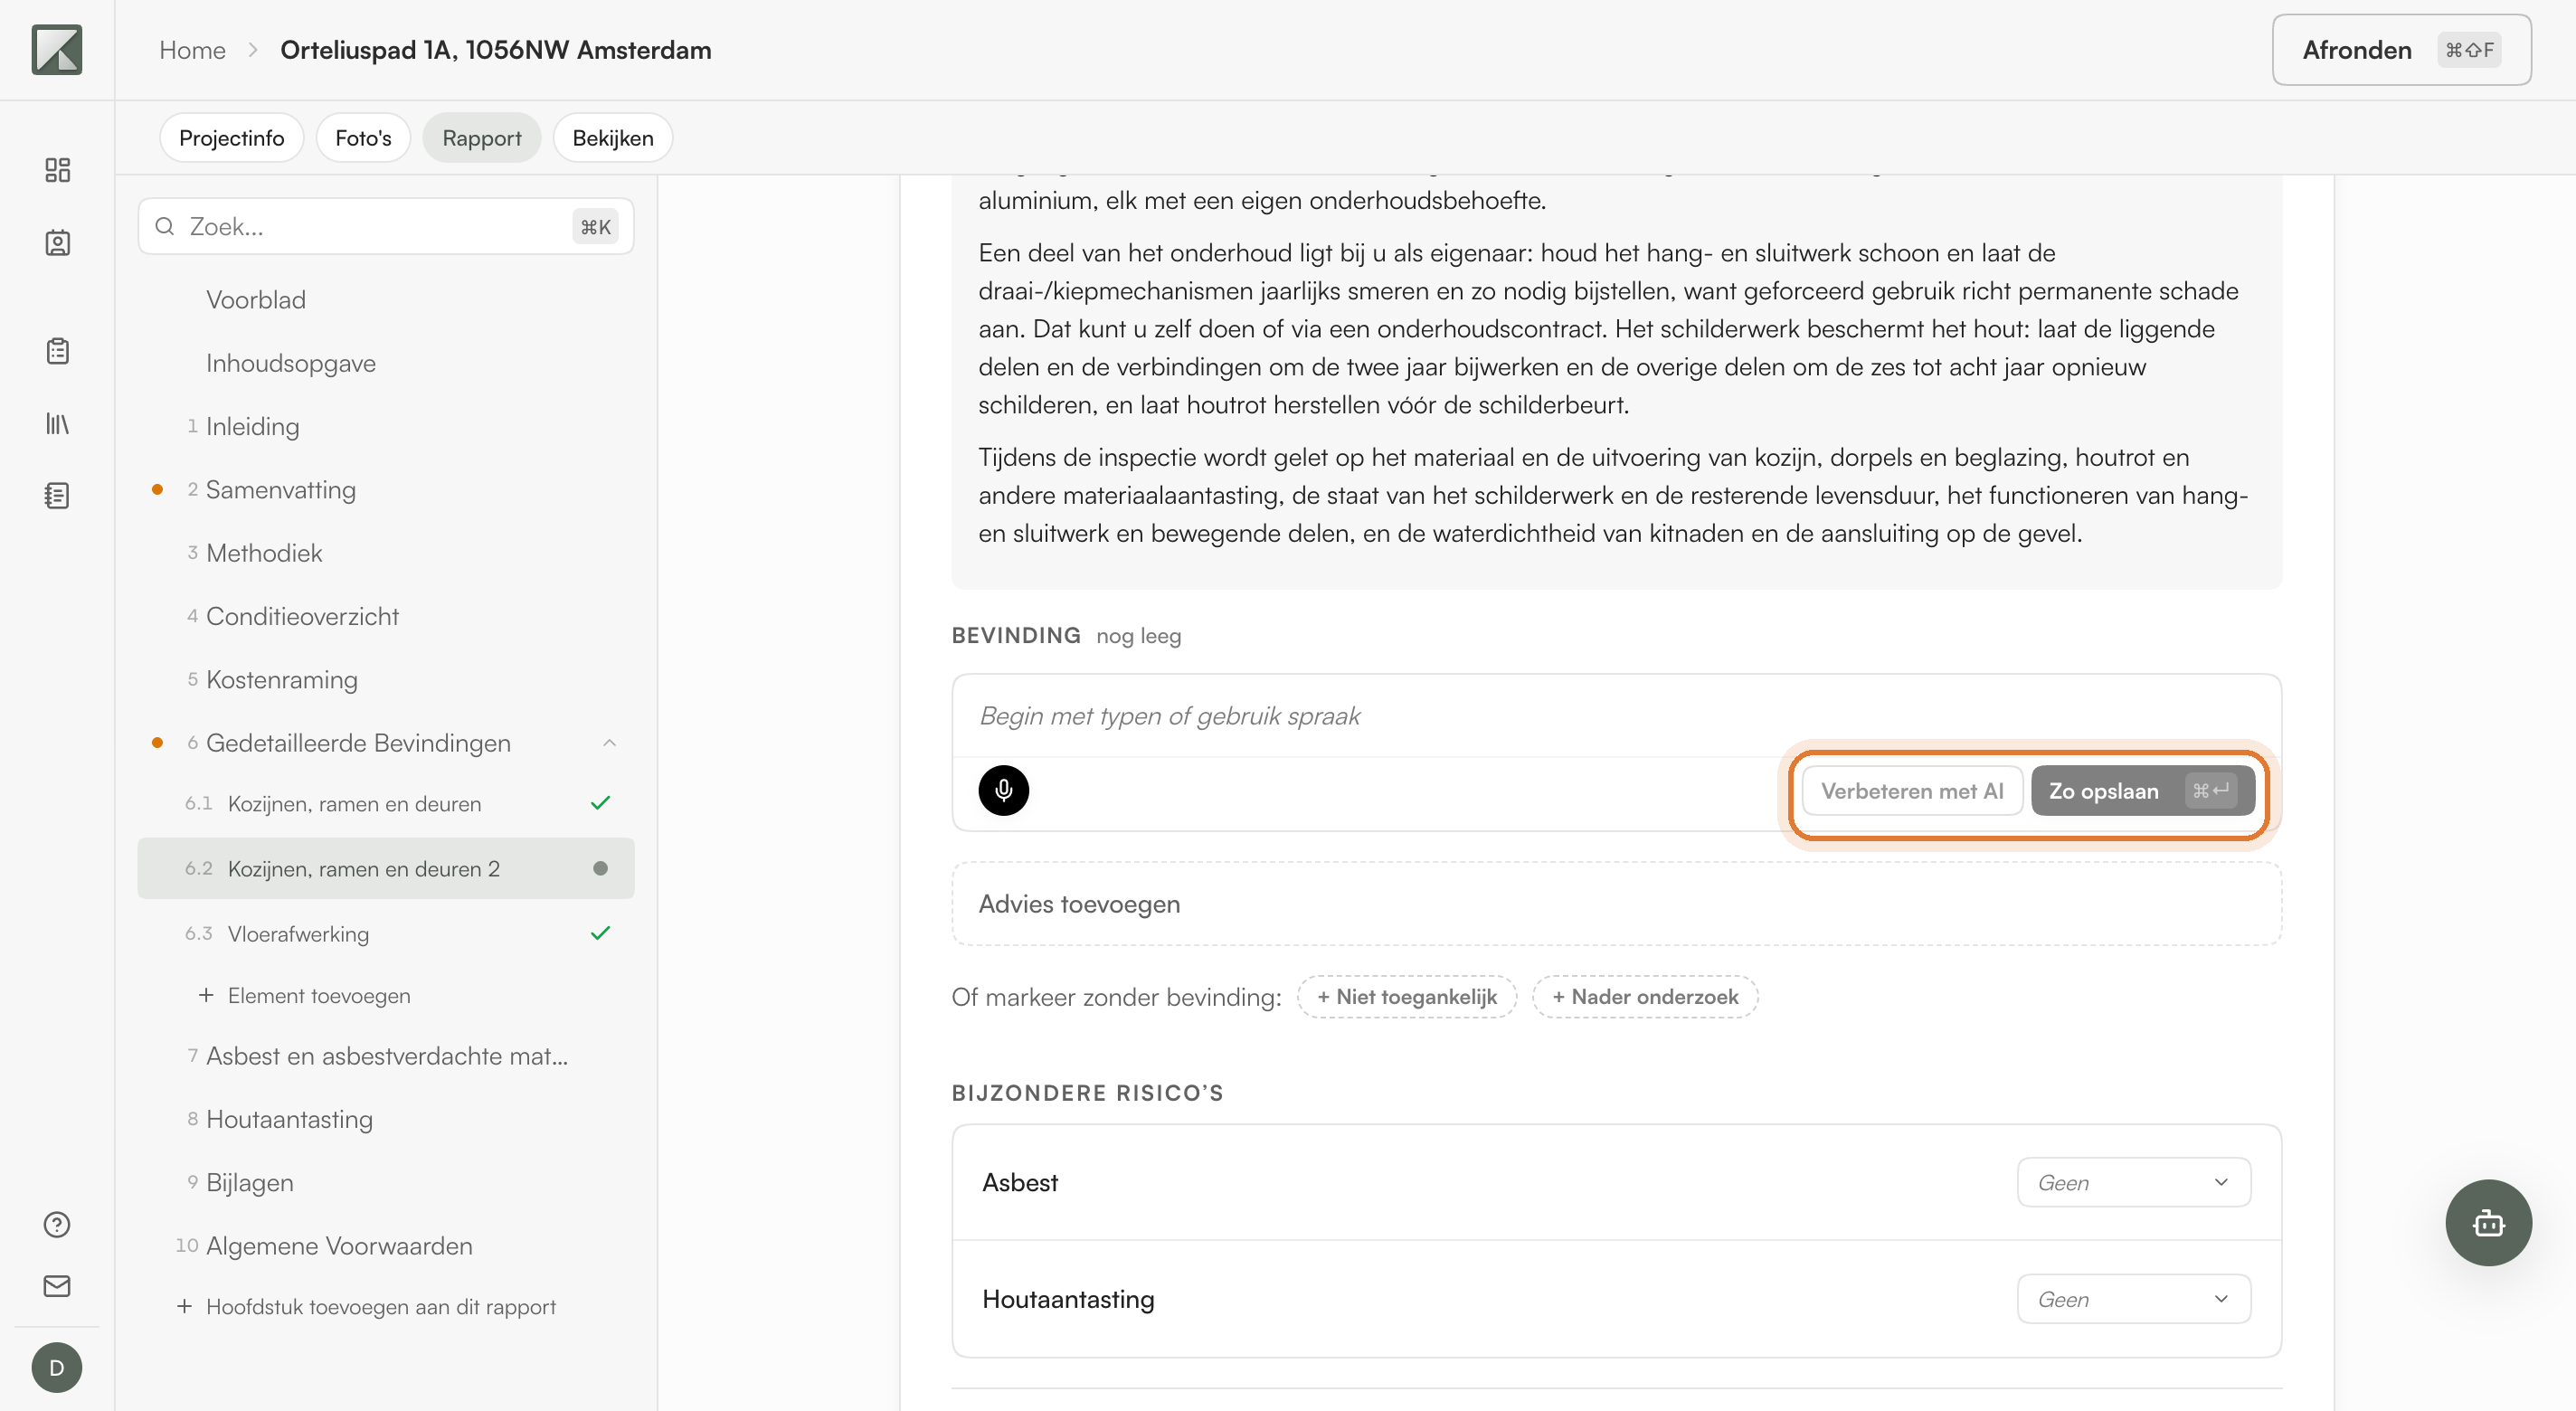
Open an element that is still empty and everything is ready to fill in: a place for photos, a field called Achtergrond, and the field Bevinding where you write down what you see.
Typing works, so does speaking: press the microphone and describe what is going on. What you say appears as text in the field.
If you are happy with it, choose Zo opslaan and your text stays exactly as you wrote it. To turn it into report language, choose Verbeteren met AI. You can add an advies as well.
If an element has no finding, mark it without one. You have two choices:
- Niet geïnspecteerd: you could not look at it. Give the reason, for example that you could not reach it or the room was locked.
- Nader onderzoek: it needs more than a visual inspection.
What you mark appears in the report, so your client sees what was and was not examined.
Adjusting texts
Every text field works the same way, whether it is empty or already filled. Click in it and type. Your own text is saved directly and stays as you wrote it.
If you want Kadero to rewrite something for you, you ask for it. Without that, your text is left alone.
Condition and costs
Per element you record the condition grade according to NEN 2767. A finding often comes with costs: you add those as cost rows, with a description and an amount. For a report type that plans by year, such as an MJOP, you also give the start year and the cycle.
Kadero never fills in an amount you did not say or choose.
Photos in the report
Photos you linked to an element appear with the matching finding. In the editor you decide which photos go along, in what order they appear and what the caption says. You can mark on a photo what it is about, so your client sees straight away what you mean.
Viewing the report
Under Bekijken you see the report as your client will receive it: the same layout, the same order, your house style. Have a look now and then, so you know what reaches your client.
Finishing
Under Afronden you go through the last parts before you make the report final.
- Bevestigingsstatus: what still needs review.
- Conditieoverzicht: the condition grades per element together.
- Kostenoverzicht: all costs together, with the Exporteren button for an Excel file and a CSV of the cost rows.
- Rapportgegevens & samenvatting: the report title, the date and the summary that goes at the front of the PDF.
The report title defaults to the report type and the address. Adjust it here if you want something else on the cover.
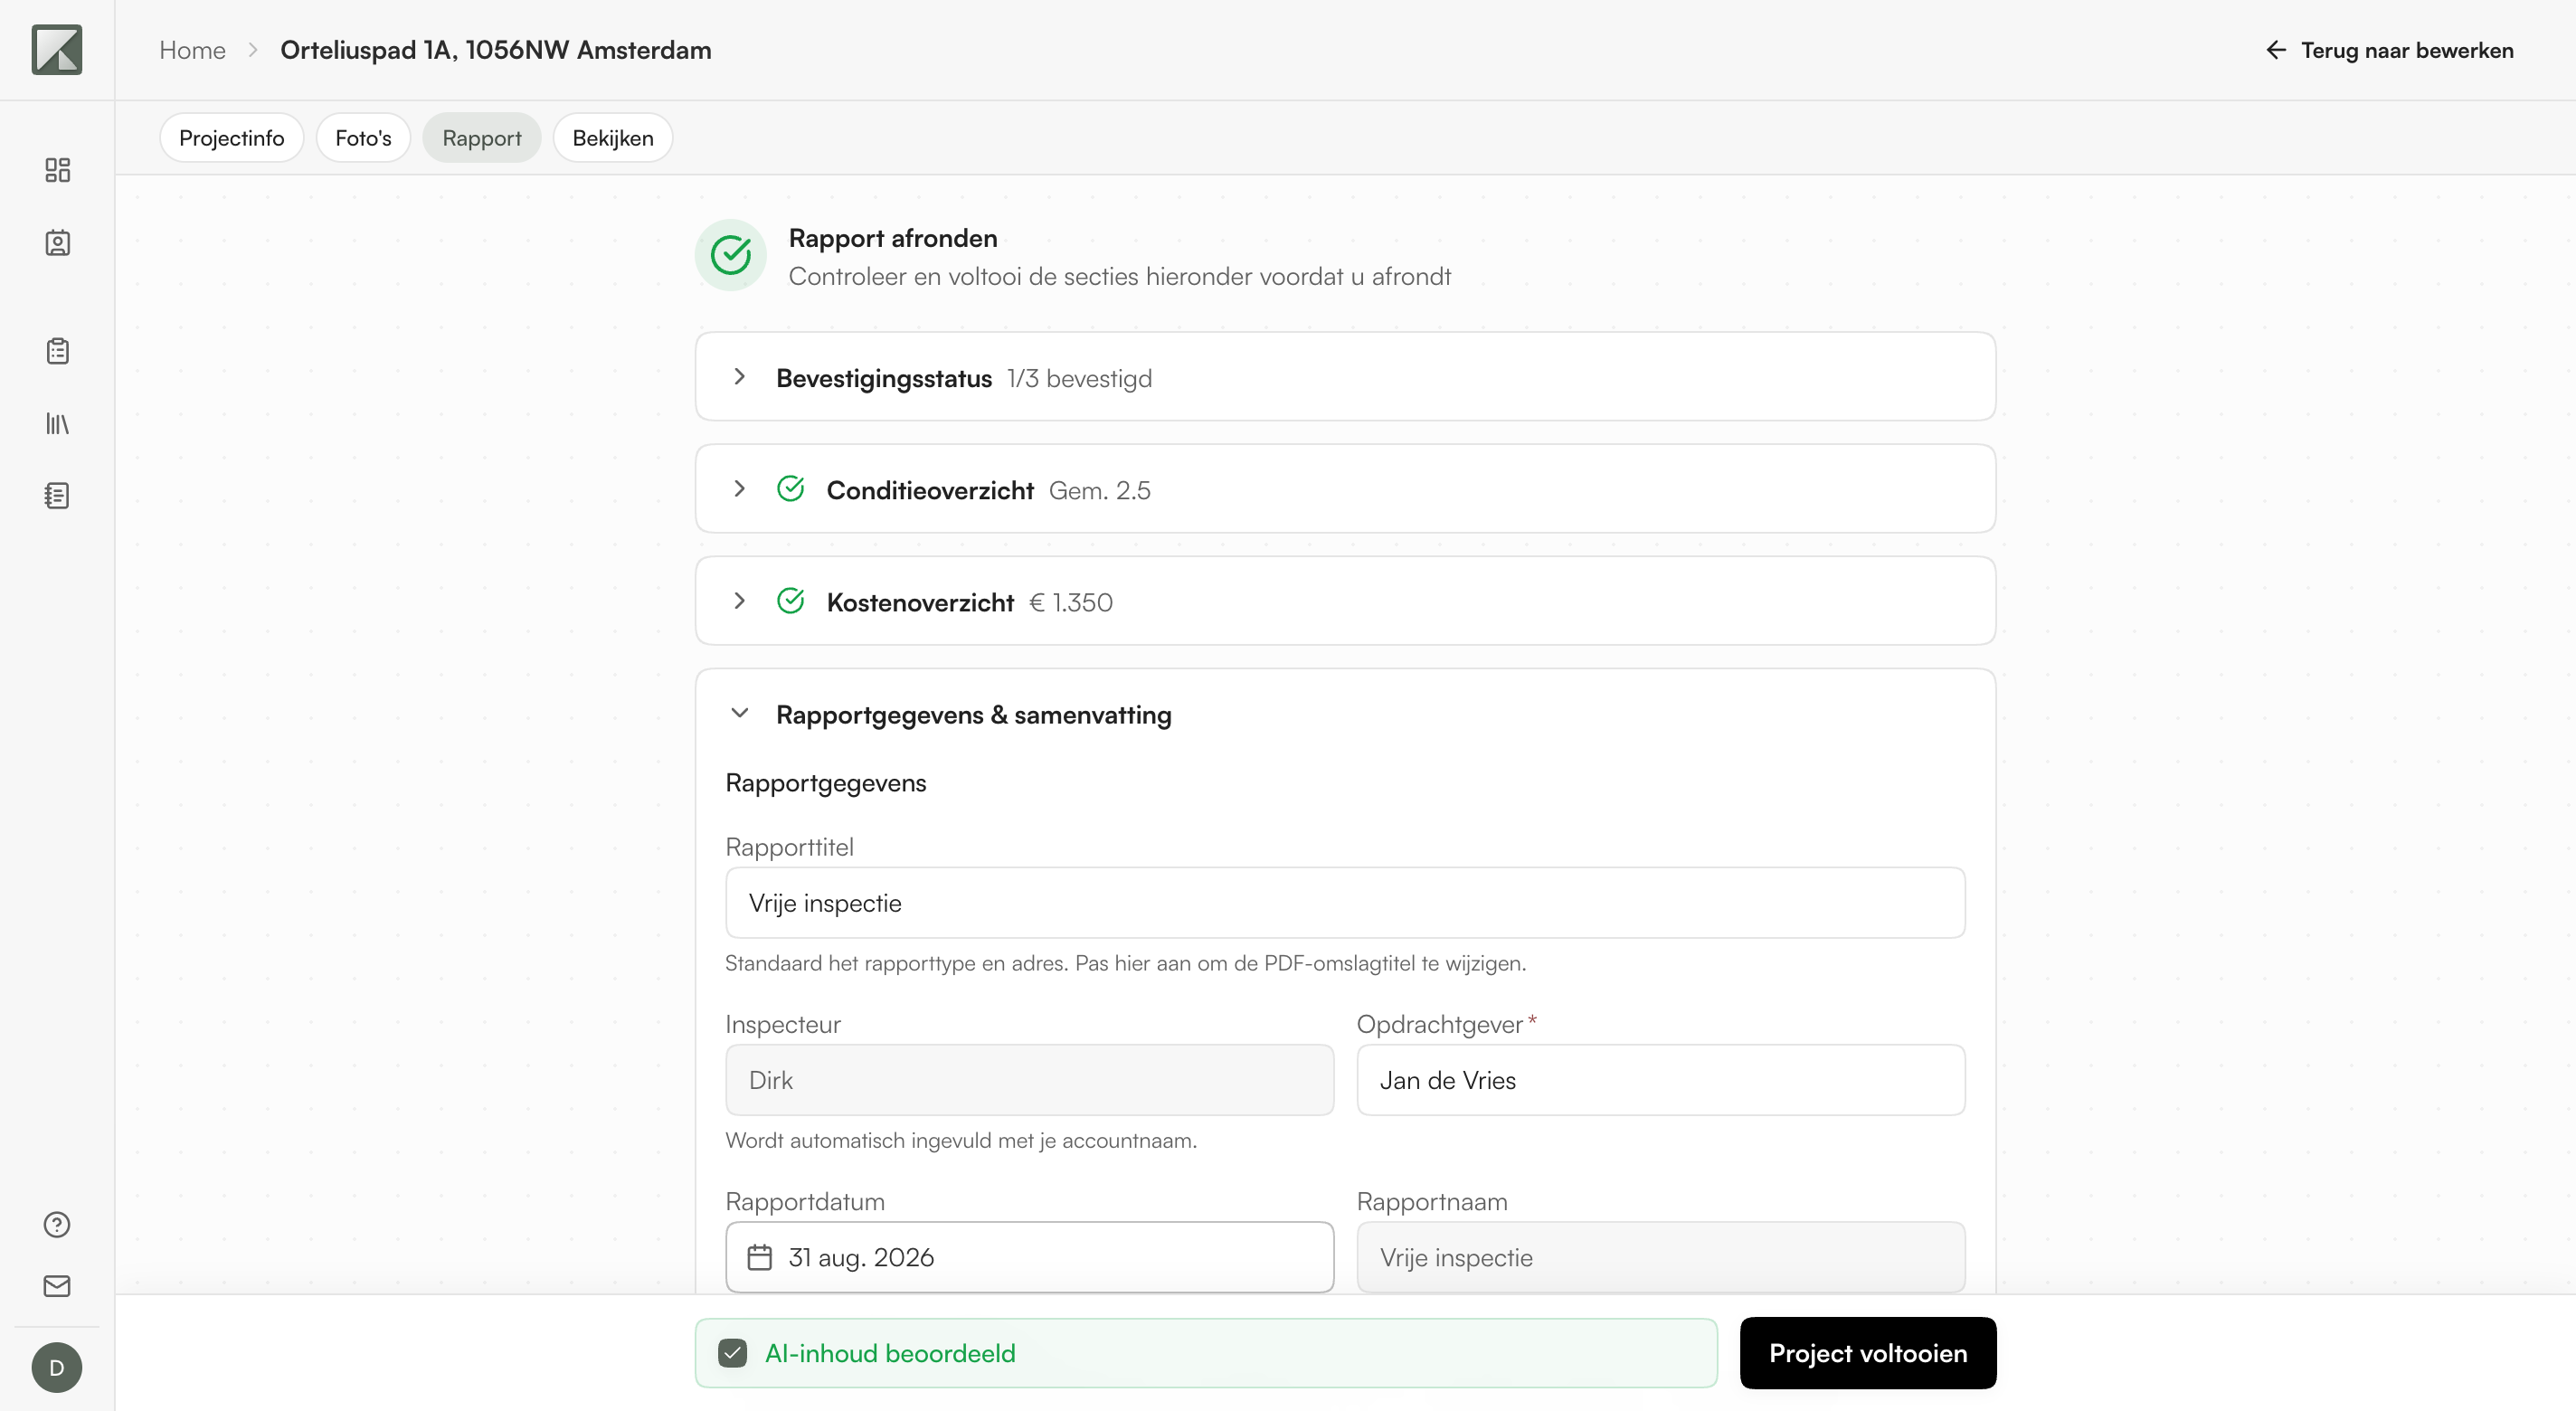
If everything is right, choose Project voltooien. Kadero produces the final report.
After finishing
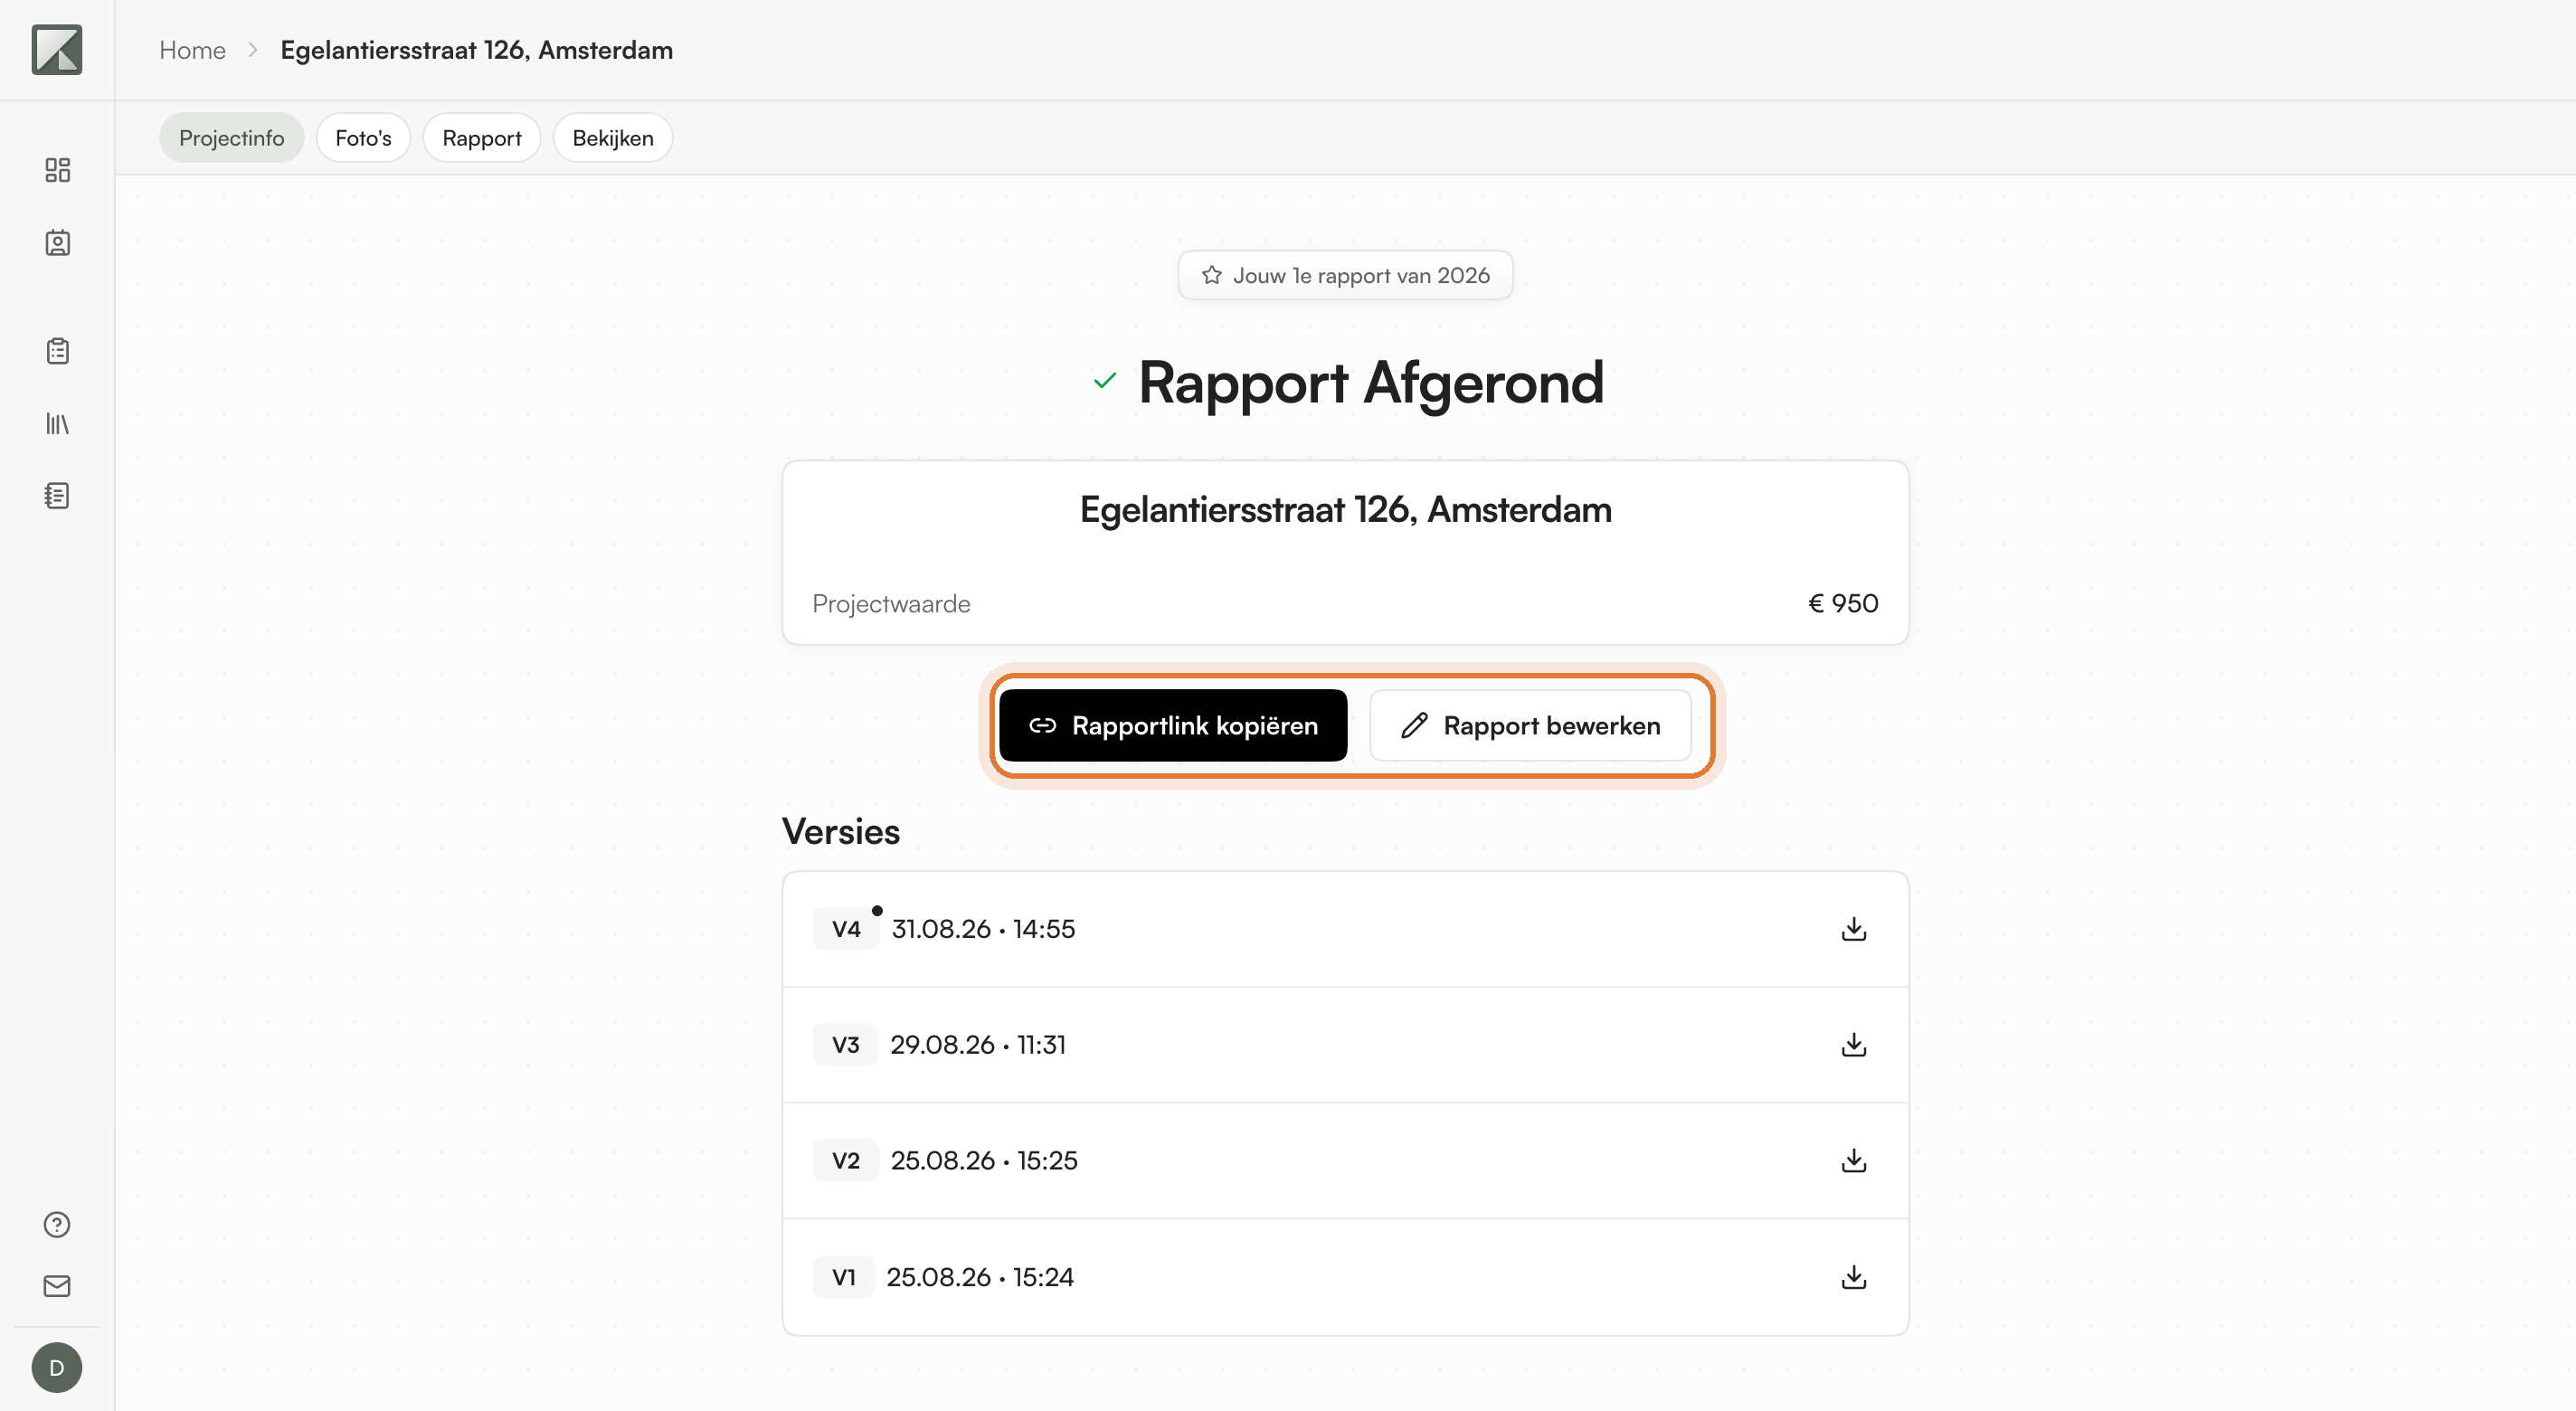
A finished report is not final. You can always open it again.
- Rapportlink kopiëren gives you the link to the digital report for your client.
- Rapport bewerken opens the report again. The version you had finished stays saved and downloadable under Versies. Finish again and a new version joins it.
- The share link stays the same and always points to the newest version.